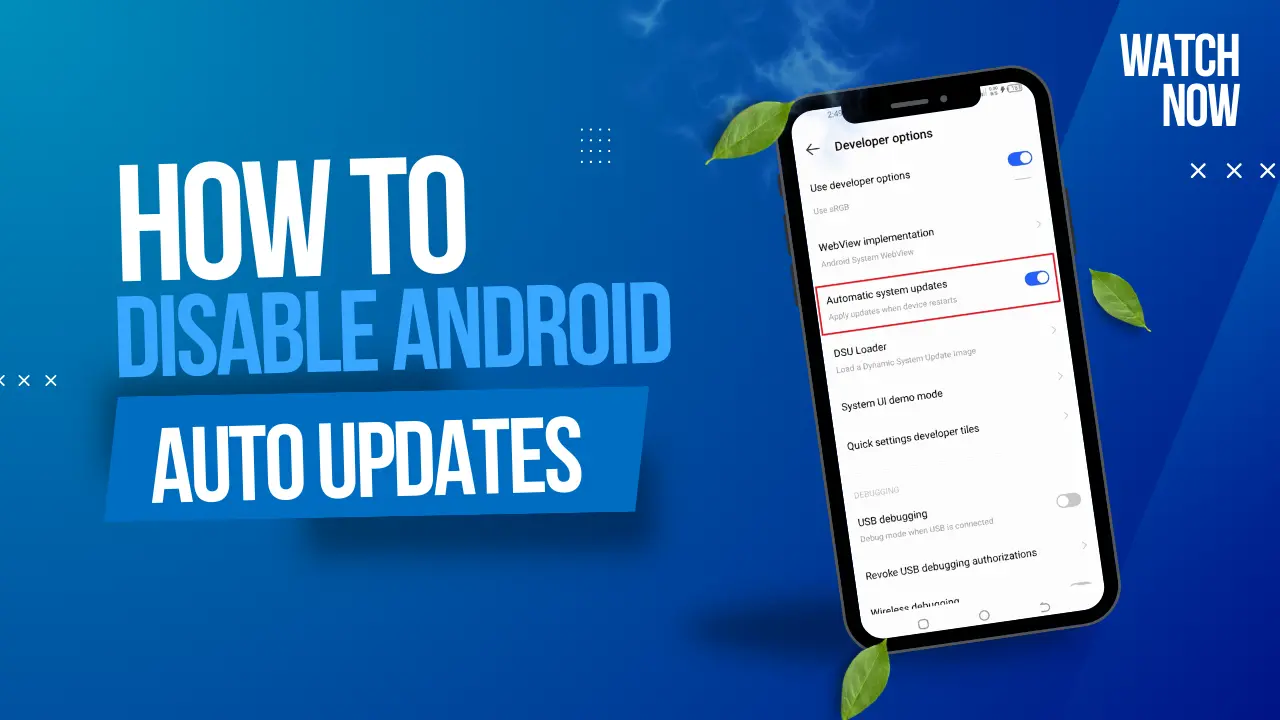
Android devices are often set to update apps and the system automatically by default. While keeping your system updated is recommended for security and performance improvements, some users prefer more control over when updates are installed. This guide will show you how to disable automatic updates by enabling Developer Mode and making adjustments from there.
Why Disable Automatic Updates?
Automatic updates can be convenient, but they also come with some downsides:
- Data Usage: Updates might download large files in the background, consuming your mobile data.
- Performance: Updates can cause your device to slow down temporarily while downloading and installing.
- Compatibility: New updates may occasionally introduce bugs or compatibility issues with certain apps.
If you’re someone who prefers to manage your device manually or want to prevent unnecessary updates, here’s how you can disable automatic updates by enabling Developer Mode.
Step 1: Enable Developer Mode
Developer Mode on Android unlocks various advanced features and settings, which are typically hidden for everyday users. Follow these steps to enable it:
- Open Settings: Start by accessing your Android device’s settings. You can do this by tapping the gear icon in your app drawer or by swiping down from the top of your screen and tapping the settings icon.
- Scroll Down to About Phone: In the Settings menu, scroll down to find the “About Phone” or “System” option (depending on your device model and Android version).
- Find Build Number: Within the About Phone or System section, find the “Build Number” field. This option might be nested under “Software Information” on some devices.
- Tap Build Number Multiple Times: Tap on the “Build Number” field seven times. As you tap, a countdown will appear, saying something like “You are now X steps away from being a developer.”
- Enter Your PIN (If Required): After the seventh tap, your device may prompt you to enter your PIN or password. Enter it, and you’ll receive a message saying, “You are now a developer!”
Step 1: Enable Developer Mode
Developer Mode on Android unlocks various advanced features and settings, which are typically hidden for everyday users. Follow these steps to enable it:
- Open Settings: Start by accessing your Android device’s settings. You can do this by tapping the gear icon in your app drawer or by swiping down from the top of your screen and tapping the settings icon.
- Scroll Down to About Phone: In the Settings menu, scroll down to find the “About Phone” or “System” option (depending on your device model and Android version).
- Find Build Number: Within the About Phone or System section, find the “Build Number” field. This option might be nested under “Software Information” on some devices.

- Tap Build Number Multiple Times: Tap on the “Build Number” field seven times. As you tap, a countdown will appear, saying something like “You are now X steps away from being a developer.”

- Enter Your PIN (If Required): After the seventh tap, your device may prompt you to enter your PIN or password. Enter it, and you’ll receive a message saying, “You are now a developer!”
Step 2: Access Developer Options
Once Developer Mode is enabled, you’ll be able to access the Developer Options menu:
- Go Back to Settings: Return to the main Settings menu by pressing the back button.
- Find Developer Options: In the settings menu, scroll down until you find the “Developer Options” menu, which should now be visible just above or below the “System” section.

Step 3: Disable Automatic Updates in Developer Mode
Now that Developer Mode is enabled, follow these steps to disable automatic updates:
- Open Developer Options: Tap on the Developer Options menu.

- Locate Automatic System Updates: Scroll down within Developer Options until you find the “Automatic System Updates” option. This option allows you to turn off automatic installation of system updates.

- Disable Automatic System Updates: Toggle the switch next to “Automatic System Updates” to Off. This prevents your device from automatically downloading and installing system updates in the background.

Final Thoughts
While Developer Mode provides more control over your Android device, it also comes with some risks, especially if you’re not familiar with advanced settings. Be cautious when making changes in Developer Options, and only disable updates if you’re comfortable managing your system manually.
By following this guide, you now have full control over when updates are downloaded and installed on your device. Remember to periodically check for updates manually to keep your Android device secure and running smoothly.
Happy tweaking

